


Are you thinking about improving your laptop? Replacing your HDD with an SSD or upgrading your old SSD with a new one is a great idea, especially for 👉 budget laptops. In this article, we will tell what improvements you can expect when using a new SSD. We will also explain step by step how to do it.
After replacing your hard drive you will need to install a new operating system. This can be tricky for many laptop users but in our article, we provided the easiest way for all the most popular OS.
Why is it necessary
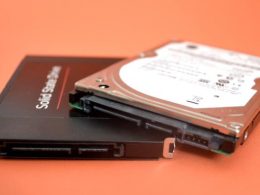
Do you know what replacing an HDD with an SSD in your laptop will affect? HDD is cheaper and may have more storage but with SSD it will turn on faster and it will also improve the overall speed of the system. The SSD is lighter and quieter, which will make using your laptop more enjoyable. You will be pleasantly surprised by the effect of the work done, which is why we always recommend replacing HDD.
Signs that you should replace your hard drive:
How to replace the hard drive
Step 1 — Unplug the laptop
Make sure the laptop is completely powered off and not in sleep mode, otherwise it is not safe to open it.
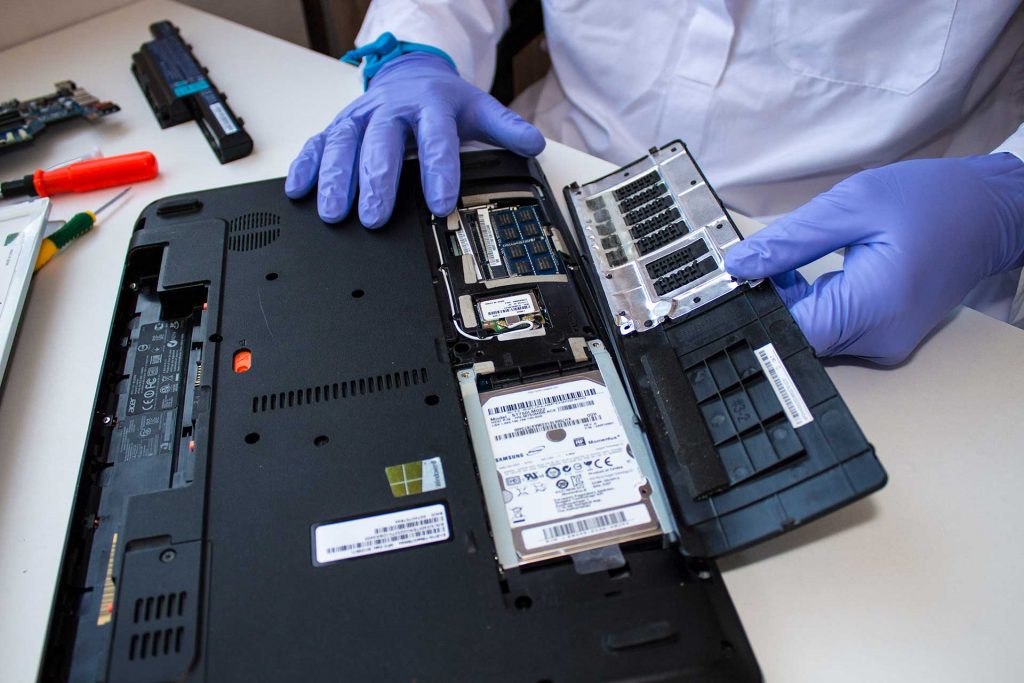
Step 2 — Open the bottom panel of the laptop
In most laptops, the bottom panel is closed with small screws that can easily be opened with a screwdriver of the right size. Remove all the screws and put them in a separate place so that you don’t get tangled up.
Step 3 — Remove the old drive
The hard drive is often visible immediately, it is attached to the screws. Replace it using a screwdriver and remove it from the laptop.
Step 4 — Place the new SSD
Do the same manipulations with the new SSD as you did with the HDD, but in reverse order, using the installation instructions from the box with your SSD.
Step 5 — Close the bottom panel of the laptop
Take the screws that you put aside and use a screwdriver to close the laptop.
The easiest way to reinstall an operating system
Before starting: Save important data
When installing any operating system, you should save all the files you need. There are several ways to do this, transfer to flash drive or use a program to create a copy of the data, which after installation will automatically be installed on your laptop. In order not to make a mistake and lose all your files, we recommend using the cloud to store your data. Transfer your files to the cloud before starting the process.
Installing Windows on SSD
Step 1 — Download Windows to a flash drive
Install “Windows 10 Media Creation Tool” from the Windows website. Then run and select “Create installation media for another PC” using a USB flash drive. And follow the instructions to create the installation media.
Step 2 — Replace the hard drive and plug in the flash drive
Replace your hard drive, 👀 read more about this process. After replacing the hard drive, connect the flash drive with the previously installed “Windows 10 Media Creation Tool” and run the laptop, pressing F11 or F12 to enter BIOS. In the BIOS you need to change the startup priority, move the flash drive to the first place, save the changes and start the system.
Step 3 — Select installation type “Custom” and complete all installation steps.
Enter the product key you received when you purchased Windows, select custom installation type, and proceed with the Windows installation following all the instructions.
Installing Mac OS on SSD
Step 1 — Place a new hard drive
👉 Study the process in detail and replace the SSD.
Step 2 — Open the boot menu
Turn on your laptop and press cmd + option + R to open the Mac OS installation menu.
Step 3 — Configure the disk for installation
Name your drive and make sure that Mac OS Extended (Journaled) or APFS format is selected. If there is a “Scheme” option, set it to GUID Partition Map.
Step 4 — Start installing the Mac OS
Click the Mac OS install button and follow all instructions.
Installing Linux Ubuntu on SSD
Step 1 — Download Ubuntu
Download Ubuntu from the official website, then you need to download the Rufus program to make a bootable flash drive.
Step 2 — Create a bootable flash drive
Insert the flash drive and open the Rufus program. Make sure everything is correct, all the settings should match our instructions and the boot selection should have the file you downloaded from the Ubuntu website.
Step 3 — Replace your hard drive
Use our instructions to replace your hard drive. 👉 Step-by-step instruction
Step 4 — Power up the laptop and start BIOS
Power on the laptop and use the F11 or F12 keys to start the BIOS. Find the startup priority and put your flash drive in the first place and start the system.
Step 5 — Download Ubuntu step by step, setting up to suit your needs
Follow each step of the installation and configure Ubuntu to your preferences.
Why are we trusted?
The goal of our professional team is to provide our readers with reliable information. We always strive to understand the needs of our readers and provide the easiest way to solve your problem. In each article, we try to explain step by step how to complete the process and give you new tips.
Summary
Replacing your hard drive is important because it makes your laptop faster and quieter. Then the operating system must be installed and of course, reinstalling the OS on the new SSD is not an easy task for the novice user which is why we recommend you to learn the whole process in detail before you start. Following the instructions step by step will help make the process easier.
FAQs
❓ How do I install an operating system on a new hard drive?
Depending on which OS you need, you can find installation instructions in our article:
👉 Windows
👉 Mac OS
👉 Linux Ubuntu
💿 Do you need to reinstall Windows after replacing the hard drive?
Yes, of course. After all, all hard drives come without an OS installed.
👀 Learn more about replacing an HDD with an SSD.
🤓 How do I install an operating system on a new hard drive without CD?
You don’t have to use a CD, you can use a flash drive. In the same way as with the CD you need to make a bootable flash drive and also in the BIOS start the installation of Windows or Linux.
🚮 Will I lose data if I replace my hard drive?
Yes, so you need to keep them. There are a few methods of how to do this, you can create a backup of your data, but if you don’t know how to do that, we recommend just transferring the files to the cloud.